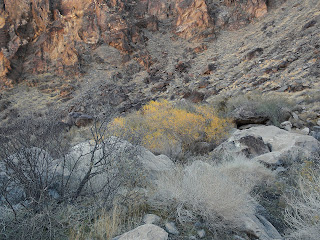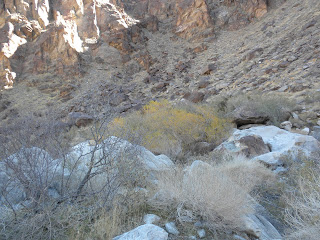
Made four Layers, Normal/Darken/Lighten/Bakground, Used curves to darken the picture and used levels to edit the light and darkenss further. Burned the branches on the small tree and changed the color of the yellow and the picture with selective color by editing, yellows/neutrals/blues/ and black. The Darken and Normal Layer were then collapsed and i used hue and saturation to make the picture more vibrant. Then unsharp mask to make the rocks and branches more sharp. The first Layer collapsed is then collapsed with the Lighten Layer. Quick mask mode used on the strong light exposure and branches of the yellow shrub to change the color balance. The Layers collapsed, then replace color is used on the rocks to make them less blue, smart sharpen, dodge and burn to edit the details of the rocks and the branches. Replace color used again on the yellow shrub. Then use the magic wand tool to select the light exposures and drag and copy another piece of rock and clone stamp around the piece to make it blend.

Original
No comments:
Post a Comment